Windows Installation
The Freeciv21 community provides a Microsoft Windows® installer when new releases are tagged. The following is instructions for installing on Windows.
To obtain the installer, go to the Freeciv21 Releases page. Each release has an assets section and the Windows installer and its hash are included. Click to download and double-click the file to run.
Local Admin Installation
The following steps assume you are logged on as a local Administrator. If you are not then jump to the non-admin section below.
If you are logged on as a local Administrator, a Windows User Access Control (UAC) window will appear and ask: “Do you want to allow this app from an unknown publisher to make changes to your device”. Click Yes and the welcome panel will load after an uncompress process has completed.
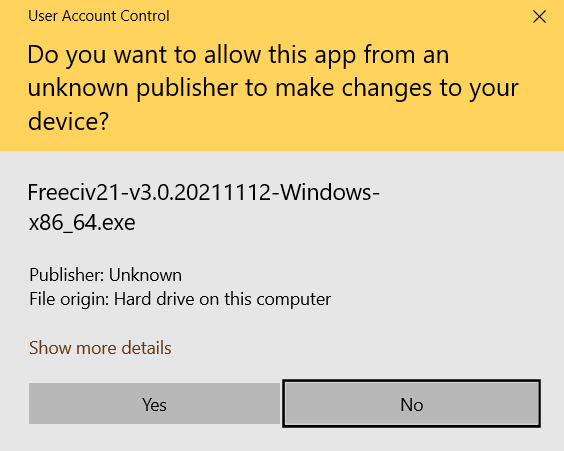
Fig. 3 Admin Install - Windows Defender
Click Next to continue…
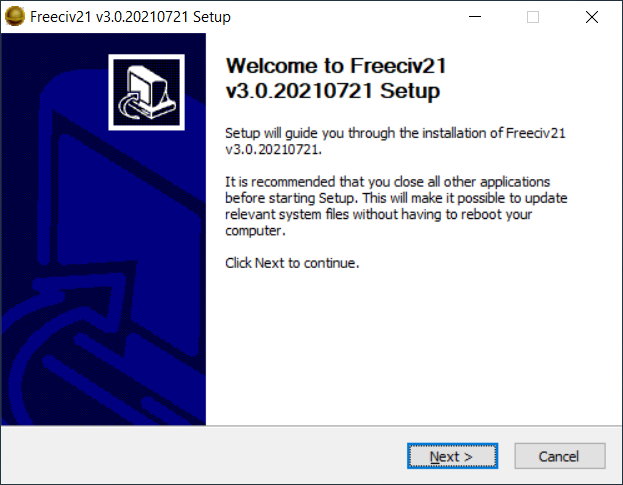
Fig. 4 Admin Install - Welcome Page
By default, the installer only installs the client, server and modpack installer. If you want other utilities, you will need to pick them from the list. Click Next to continue…

Fig. 5 Admin Install - Select Components
Select the installation type and then click Next to continue…
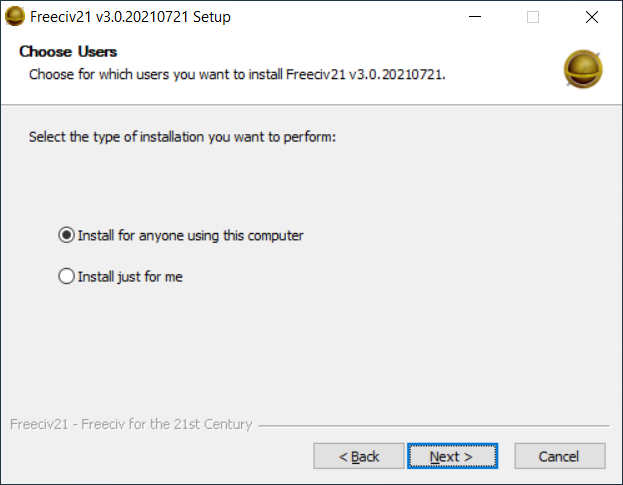
Fig. 6 Admin Install - Multi-User Selection
By default, the Admin installer will place the files in the C:\Program Files folder. Change if
you want and click Next to continue…
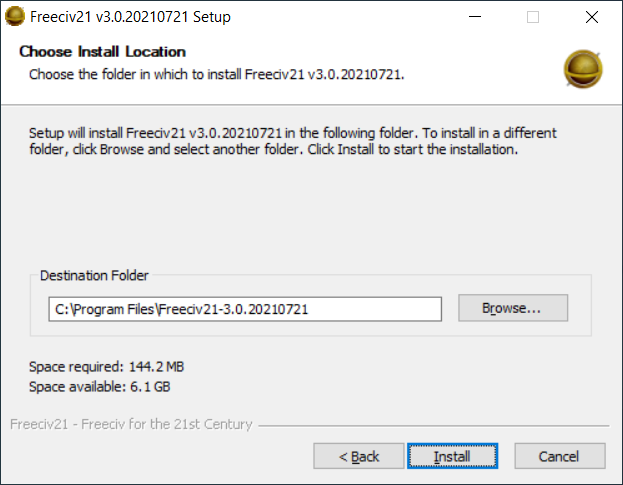
Fig. 7 Admin Install - Installation Folder
This panel shows the files being installed. No action is needed.
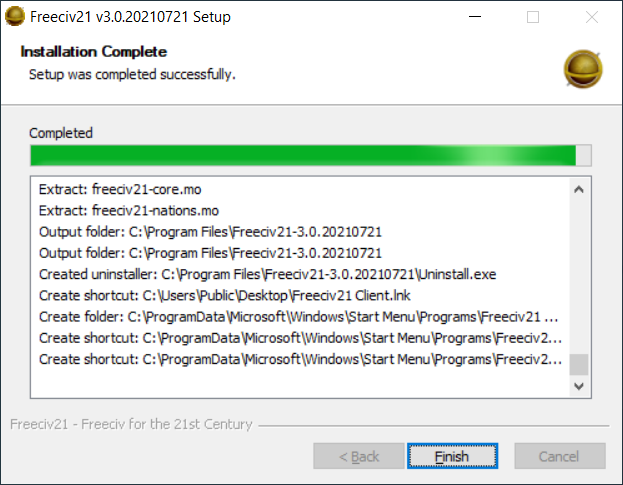
Fig. 8 Admin Install - Copy Files
If you want to run Freeciv21 right away, leave the box checked and click Finish. Otherwise, uncheck the box before clicking Finish to complete the installation.
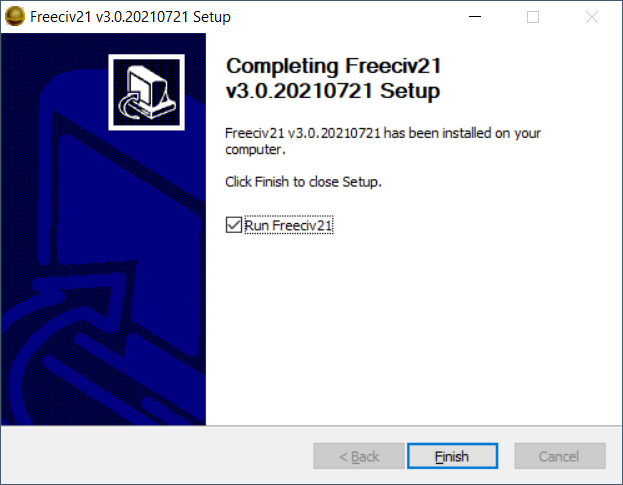
Fig. 9 Admin Install - Finish
You will find an icon for the client on the Desktop or in the Start Menu at .
Non-Local Admin (Unprivileged User) Installation
If you are not logged on as a local Administrator there is no UAC prompt and the following panel will load after an uncompress process has completed.
Click Next to continue…
Fig. 10 User Install - Welcome
By default, the installer only installs the client, server and modpack installer. If you want other utilities, you will need to pick them from the list. Click Next to continue…
Fig. 11 User Install - Select Components
The Non-Admin Installer places the files in your User Directory by default. Change if you want and click Next to continue…
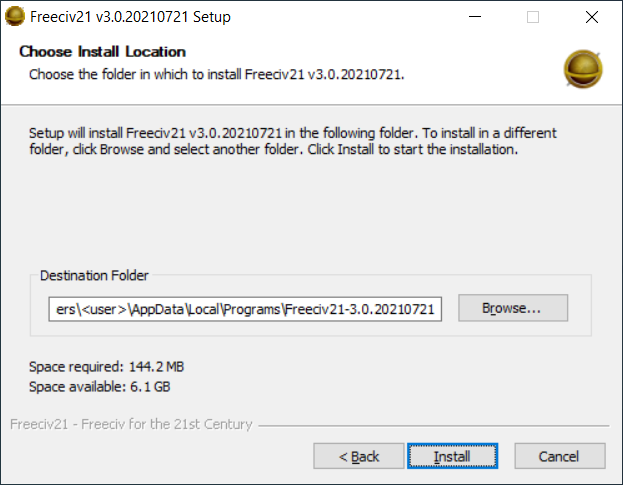
Fig. 12 User Install - Installation Folder
This panel shows the files being installed. No action is needed.
Fig. 13 User Install - Copy Files
If you want to run Freeciv21 right away, leave the box checked and click Finish. Otherwise, uncheck the box before clicking Finish to complete the installation.
Fig. 14 User Install - Finish
You will find an icon for the client on the Desktop or in the Start Menu at .